
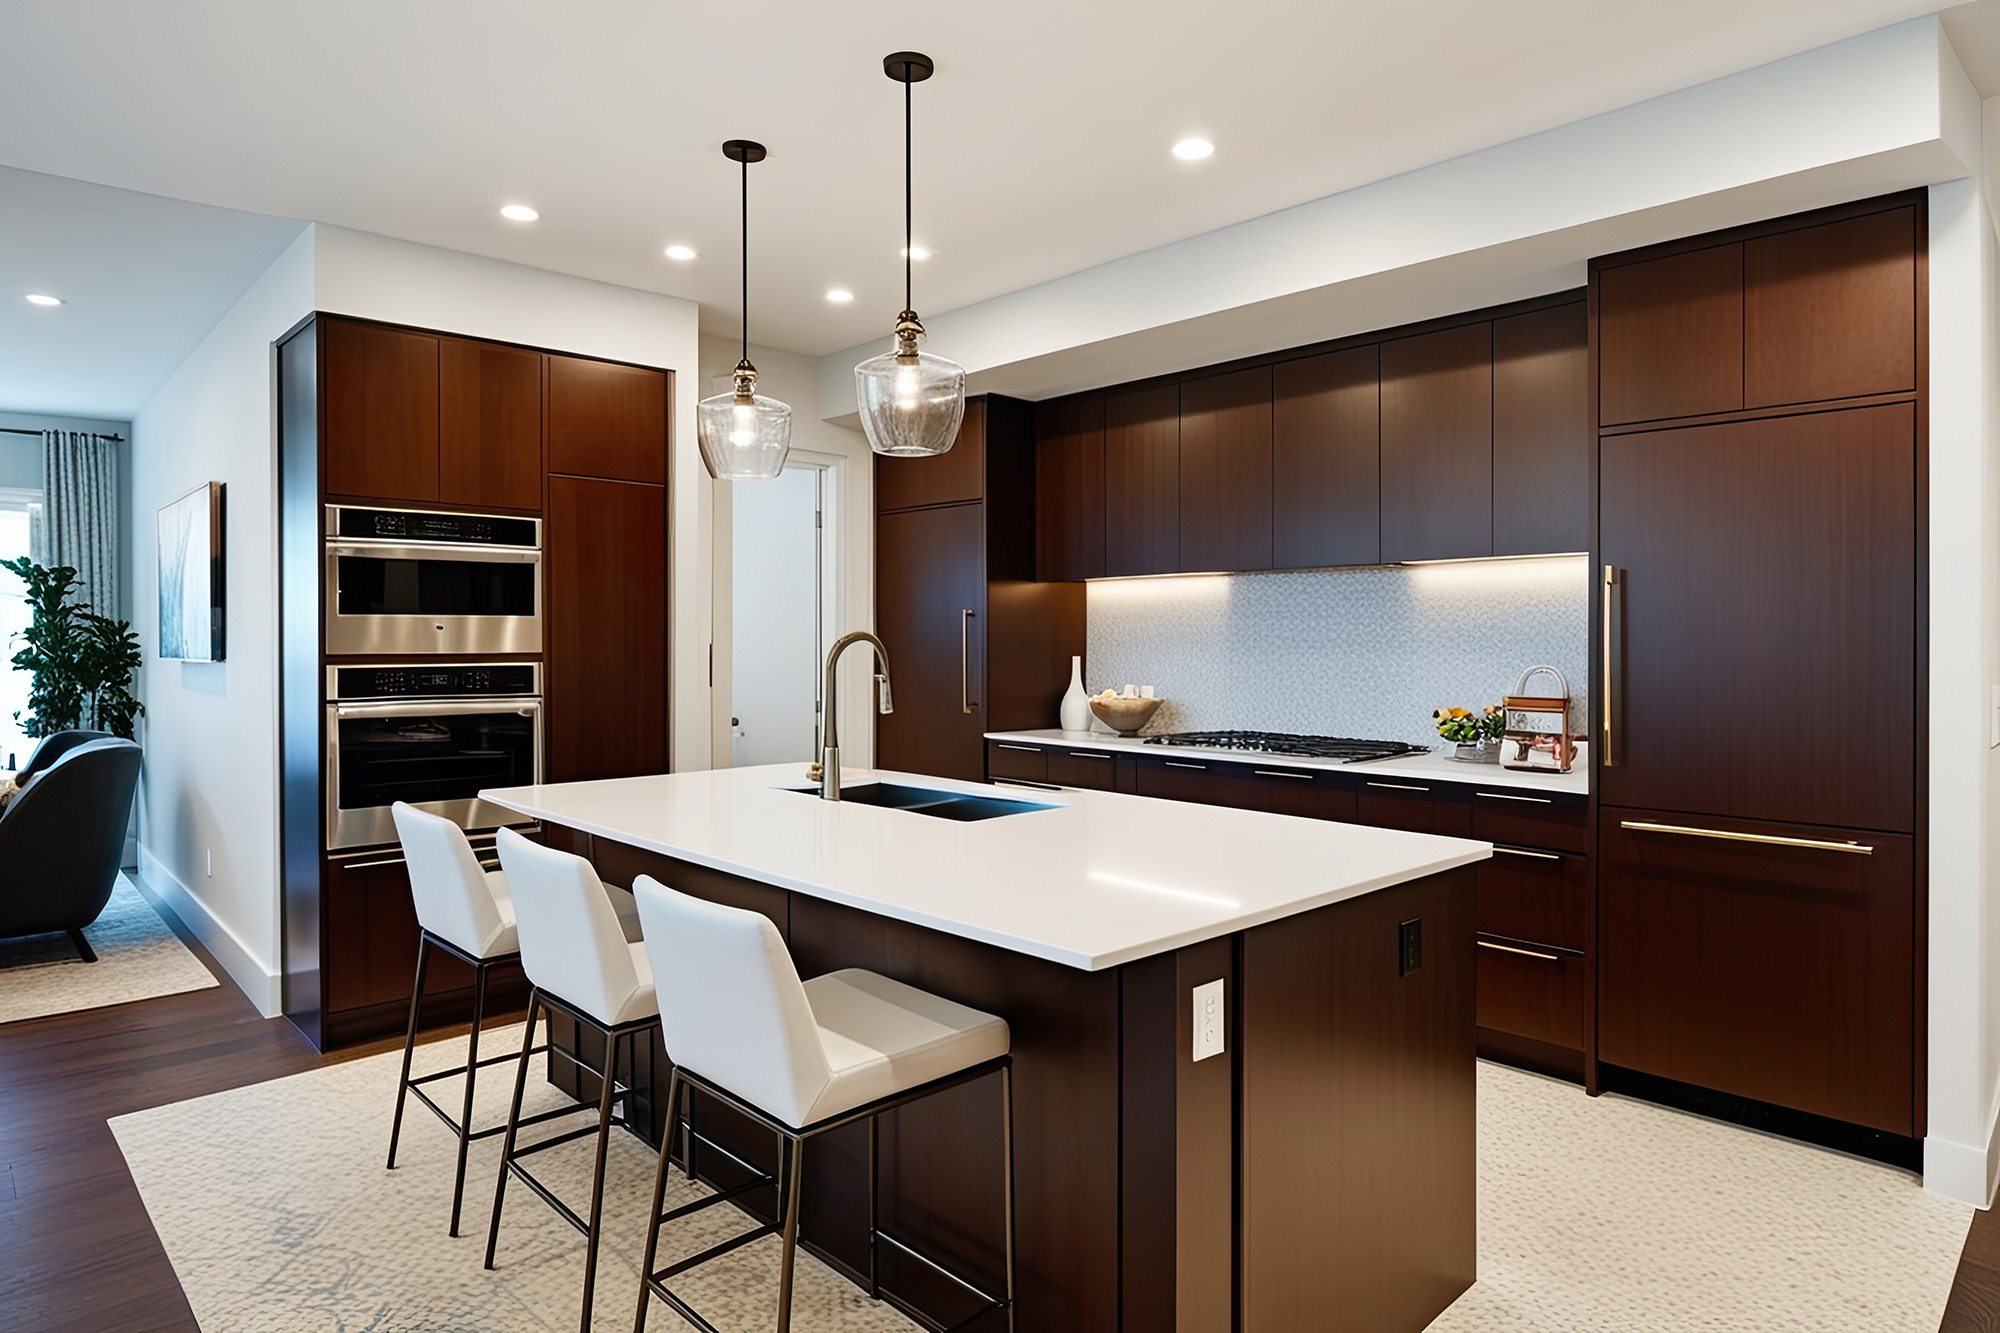
Recessed lights can make a room feel modern and clean, or harsh and uncomfortable. Most problems come from guessing the count and spacing, then “fixing it” by adding more cans. More fixtures often creates more glare, more shadows, and a space that feels tense.
Step 1: Decide the lighting
Recessed downlights mainly illuminate horizontal surfaces. That’s great for general ambient light, but it’s not great for walls, artwork, or upper cabinets. If you only use downlights, your walls can look dim, which makes the whole room feel cave-like. A better plan mixes downlights with wall-washers or sconces for vertical brightness.
Step 2: Start with a spacing baseline that actually works
A practical starting baseline is spacing recessed lights at about half the ceiling height. For an 8-foot ceiling, that’s roughly 4 feet apart. For a 10-foot ceiling, around 5 feet apart. This is a starting point, not a rule, because beam angle, lumen output, and surface reflectance will change what “enough” looks like.
Step 3: Beam angle is the math lever most people ignore
Beam angle determines how wide the light spreads when it hits the floor or counter. Wider beams spread light more evenly, reducing the number of fixtures needed. Narrow beams require tighter spacing and can create spotlighting that feels harsh. For general living spaces, many homeowners prefer a wider, softer spread. For accent lighting, a narrower beam can make sense, but it should be intentional, not accidental.
Step 4: Use placement to prevent shadows in kitchens
Kitchens are where recessed layouts fail most often because tasks happen at counters. If a recessed light is centered in the aisle instead of positioned to support the counter edge, your body blocks the light and throws a shadow onto the work surface. A better approach is aligning downlights with the front edge of countertops or slightly inside the counter line, so the light lands where your hands work. Then use under-cabinet lighting for true task light on the counter.
Step 5: Avoid scalloping by keeping the right wall distance
If recessed lights are too close to a wall, you’ll see bright arcs and shadow gaps along the surface. That effect is scalloping, and it can make rooms look visually busy. A typical starting point is to place downlights about 24 to 30 inches off the wall, then adjust based on beam angle and ceiling height. If your goal is brighter walls, don’t push standard downlights closer and hope for the best. Use wall-wash trims or dedicated fixtures designed to evenly illuminate vertical surfaces.
Step 6: Bathrooms need face lighting, not ceiling spotlighting
In bathrooms, a single recessed light over your head casts shadows under your eyes and chin, which makes grooming harder and less flattering. Recessed lighting can provide general ambient light, but mirror-area lighting should come from fixtures at the sides of the mirror or a well-designed bar that provides even vertical illumination. If you insist on recessed near a vanity, choose trims and placement that reduce glare and avoid creating harsh facial shadows.
Step 7: Dimming is part of comfort, not an upgrade
Recessed lighting should dim smoothly to support evening comfort. A bright ceiling grid at night makes a living space feel like a lobby. Match the dimmer type to the LED driver or the fixture’s rated dimming method. TRIAC dimming is common, but it can flicker at low levels if the driver isn’t high quality or compatible. ELV dimmers can provide smoother control in many LED setups, but they also require compatible hardware. If you notice flicker, buzzing, or “pop-on” behavior at low settings, it’s often a compatibility problem, not a “bad bulb.”
Step 8: When adding more cans makes things worse
If you keep adding recessed lights to fix darkness, ask why the darkness exists. Often the issue is missing vertical lighting, very dark wall colors, or high-contrast finishes that absorb light. Downlights don’t fix vertical darkness well, so the room can still feel gloomy even with more fixtures. Instead, balance the plan with wall washing, sconces, lamps, or accent lighting that raises wall brightness. Your eyes read comfort as evenness and balance, not raw lumens.
A simple planning checklist before you cut holes
Confirm ceiling height and joist layout before finalizing placement. Select beam angle and lumen output appropriate to the room’s purpose. Place fixtures to support tasks, especially over counters and primary walk paths. Keep fixtures a reasonable distance from walls to reduce scalloping unless you’re using a true wall-wash trim. Plan your dimming method early and verify driver/fixture compatibility so low-level light is stable and comfortable.
A great recessed lighting plan is about placement and beam control, not maximum fixture count. When you design for tasks, wall brightness, and dimming comfort, the room looks better and feels better. We serve Albuquerque, Rio Rancho, Santa Fe, Taos, Farmington, and Los Lunas, NM, so visit us or contact us to build a recessed lighting layout that’s clean, comfortable, and buyer-proof.